
 ISS LIGHTROOM PRESETS
Ready to post even more beautiful pictures?
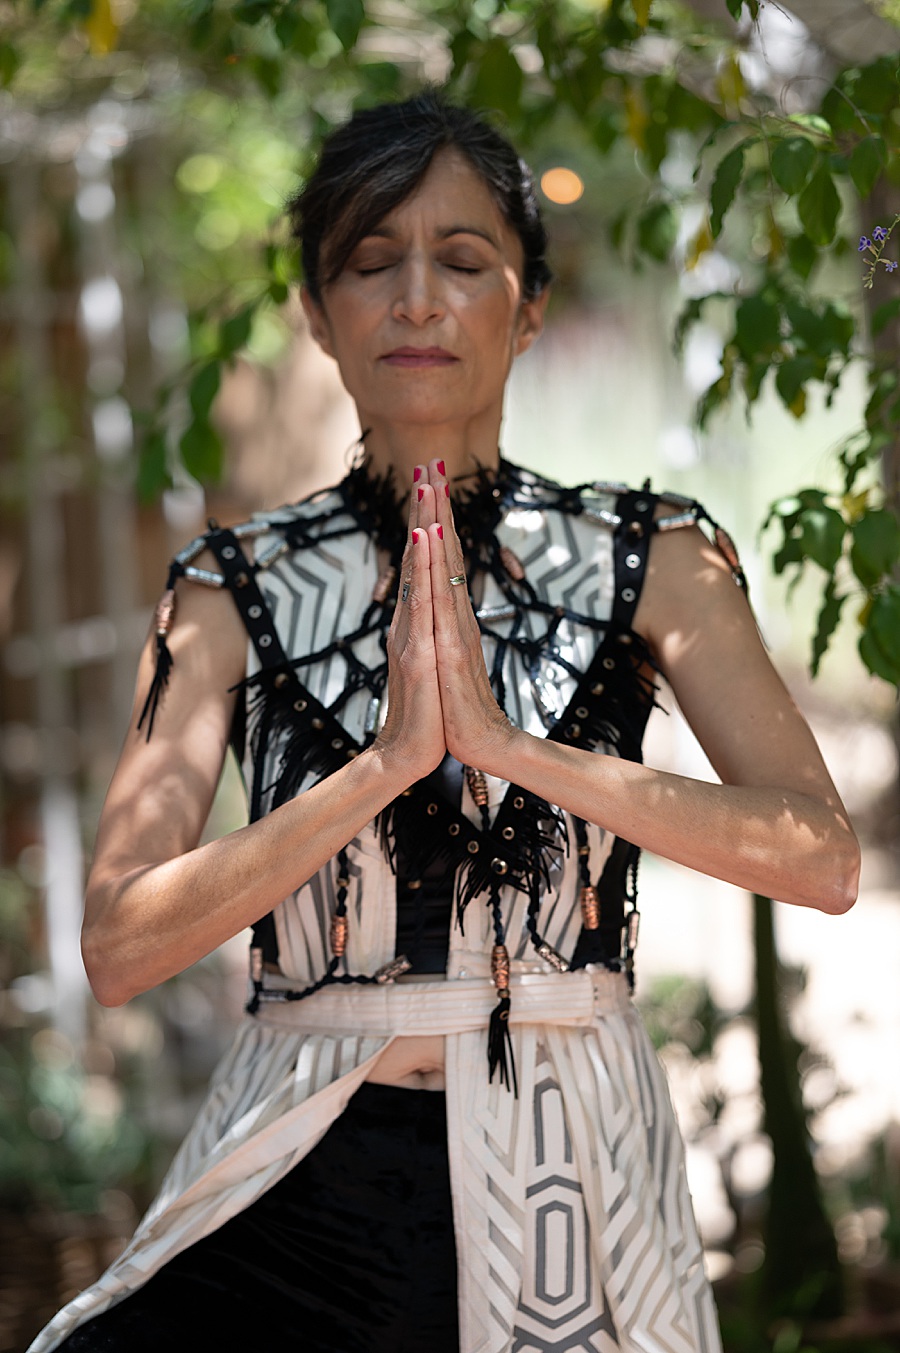
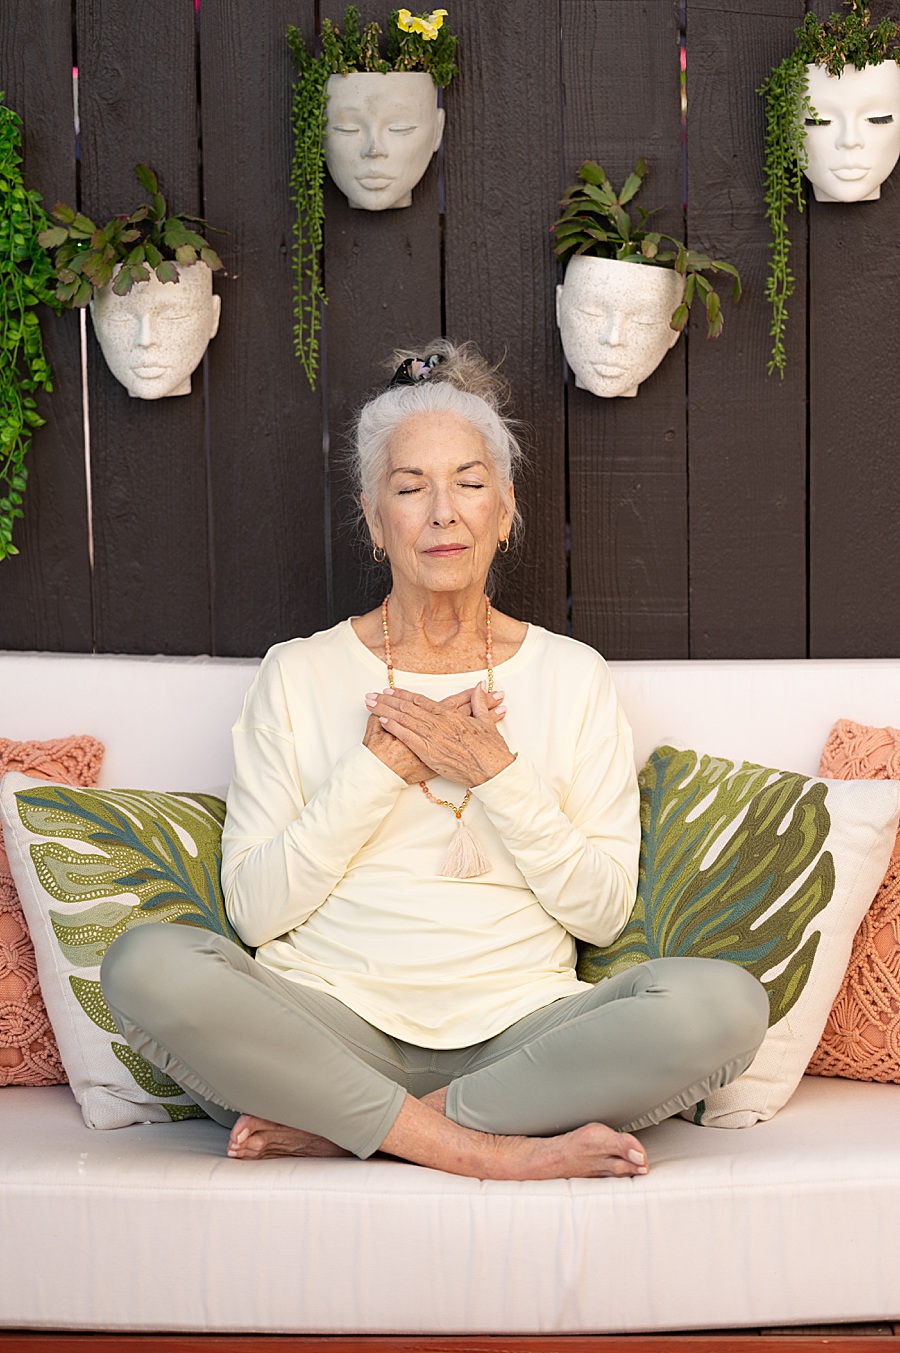
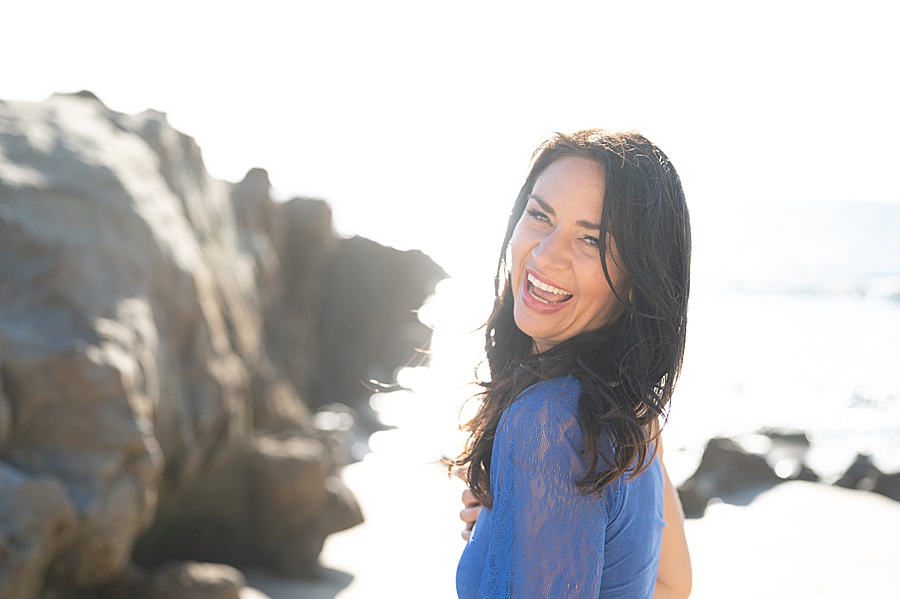
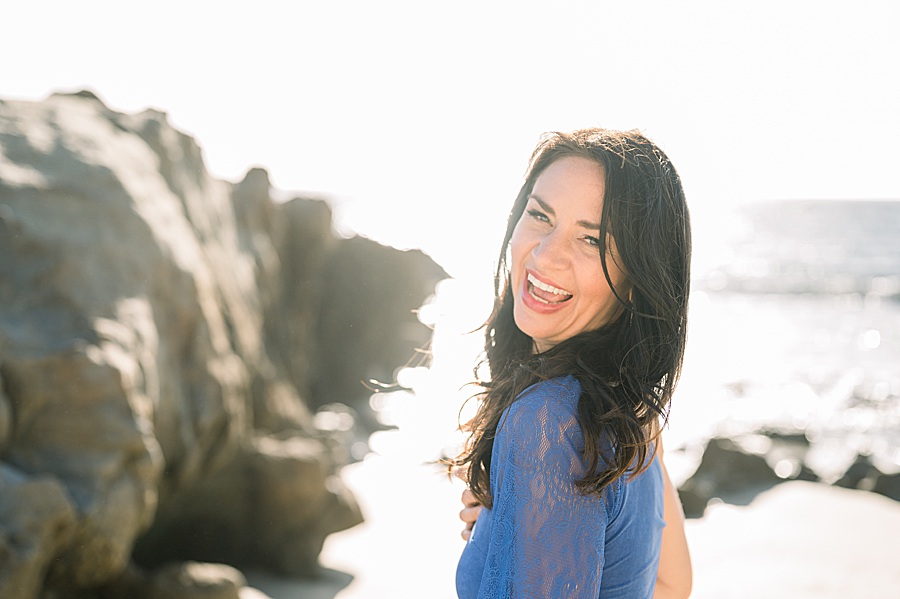
If you love the look and feel of Inspired Stock Shop images and would love to match your personal photos or selfies to our stock photos, then the new ISS Lightroom Presets Pack is perfect for you.
-
Sale!

ISS Mobile Presets
$11.00 Add to cart -
Sale!

ISS Desktop & Mobile Presets
$33.00 Add to cart
It’s like having Photoshop right in your pocket
If you’re unfamiliar with Presets, think of them as editing templates that you apply to your photos to improve the lighting, style, and colors based on set parameters programmed into the Preset. They’re like having Photoshop right in your pocket – without spending hours learning how to use it!I have been a photographer for over 20 years and have always used Lightroom to edit my images. I’ve since developed my own unique style, similar to the look and feel of film photography. These four presets represent that signature look and I’m thrilled to bring them to you in such a convenient pack.
ISS LIGHTROOM PRESETSThe ISS Lightroom Preset Pack includes 4 of my favorite looks:
Use these presets as-is, or adjust the exposure and/or white balance depending on the conditions your original photograph was taken.
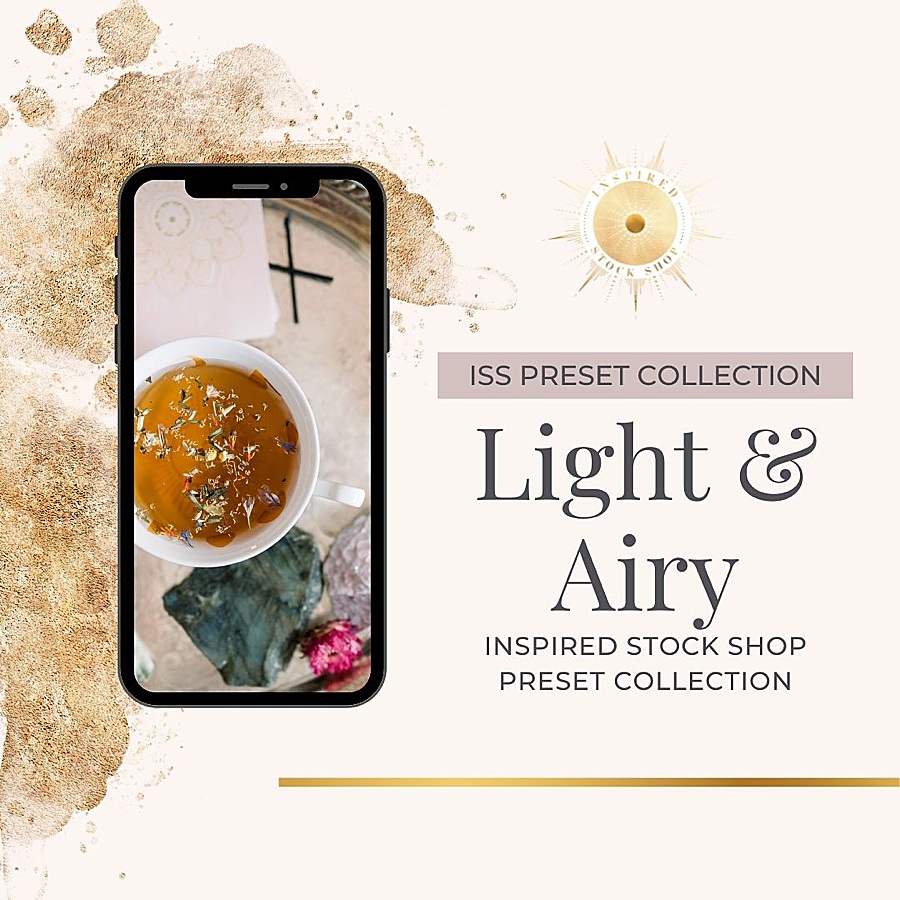
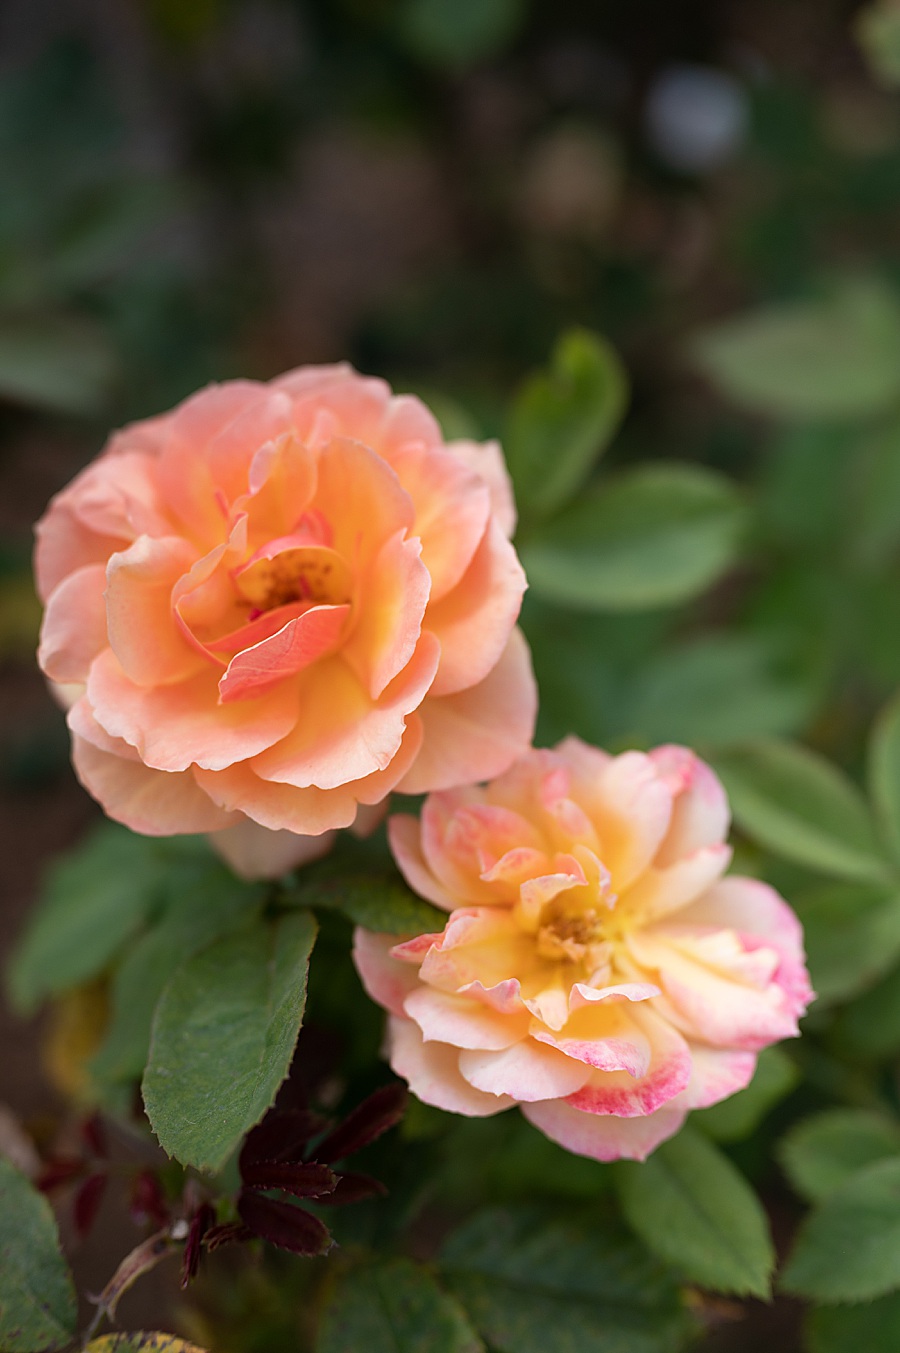
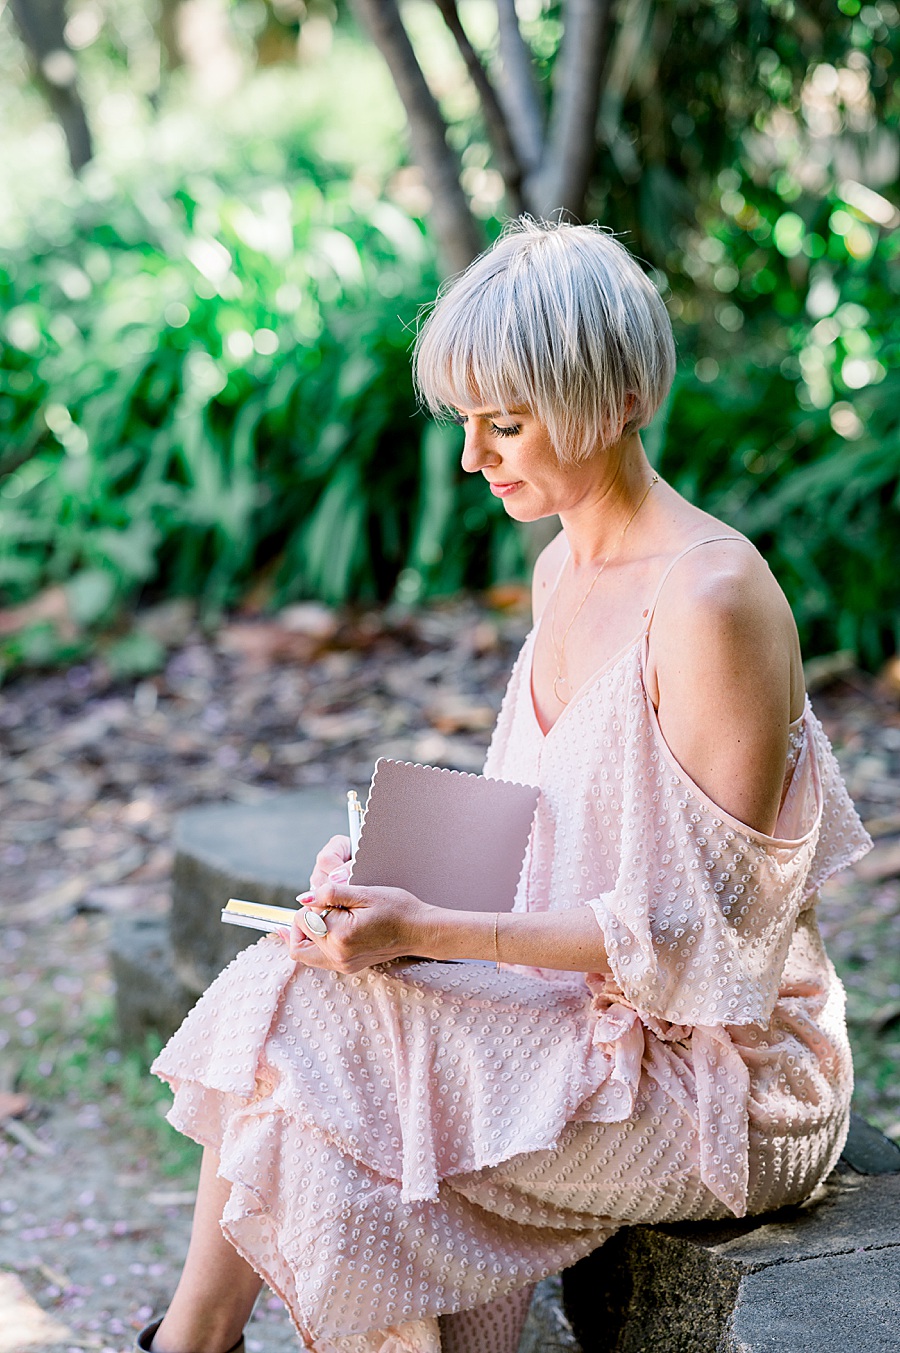
Light & Airy
My most commonly used preset and adds a pop to any dull image while maintaining beautiful skin tones.


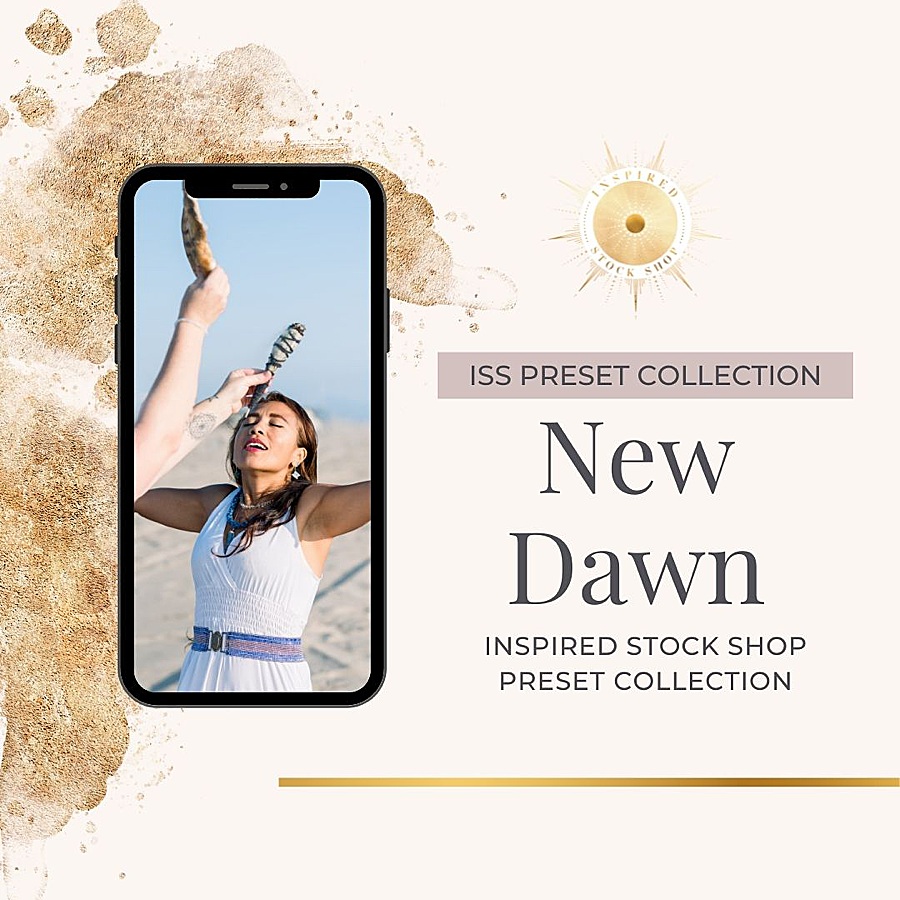
New Dawn
Gives dark/shadowy images that warm bright glow.


“These presets look great! They didn’t distort my skin tone and enhanced my photos without them looking overly manipulated. These give me a great foundation to work with when editing my photos! Installing on my Lightroom app was simple and easy.”
Jovhannah
“I love these presets! They’re so subtle and soft, but really make my pictures pop. They’re really easy to upload on mobile and now I’m using them for all of my personal pictures.”
Megan
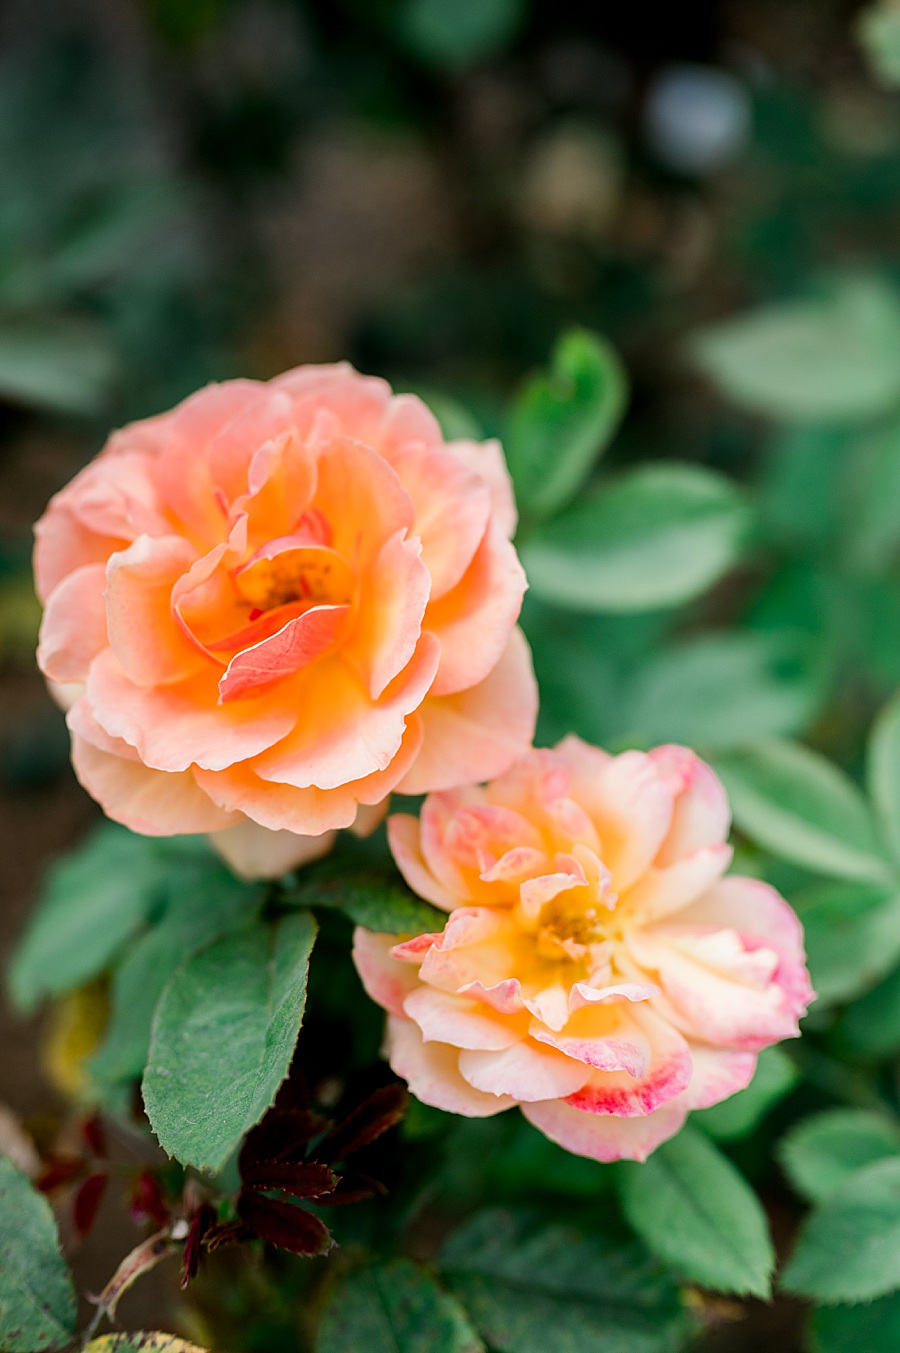
Soul Sparkle
Similar to our bright and airy preset but gives an added boost of brightness to those dull images.
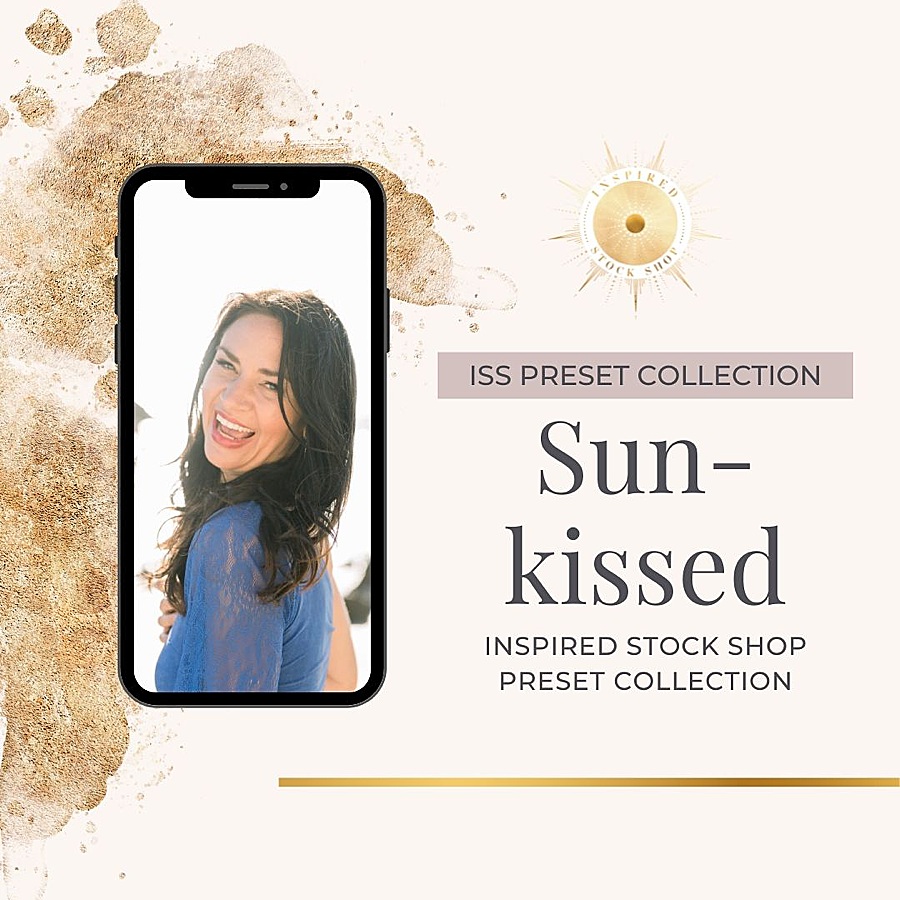
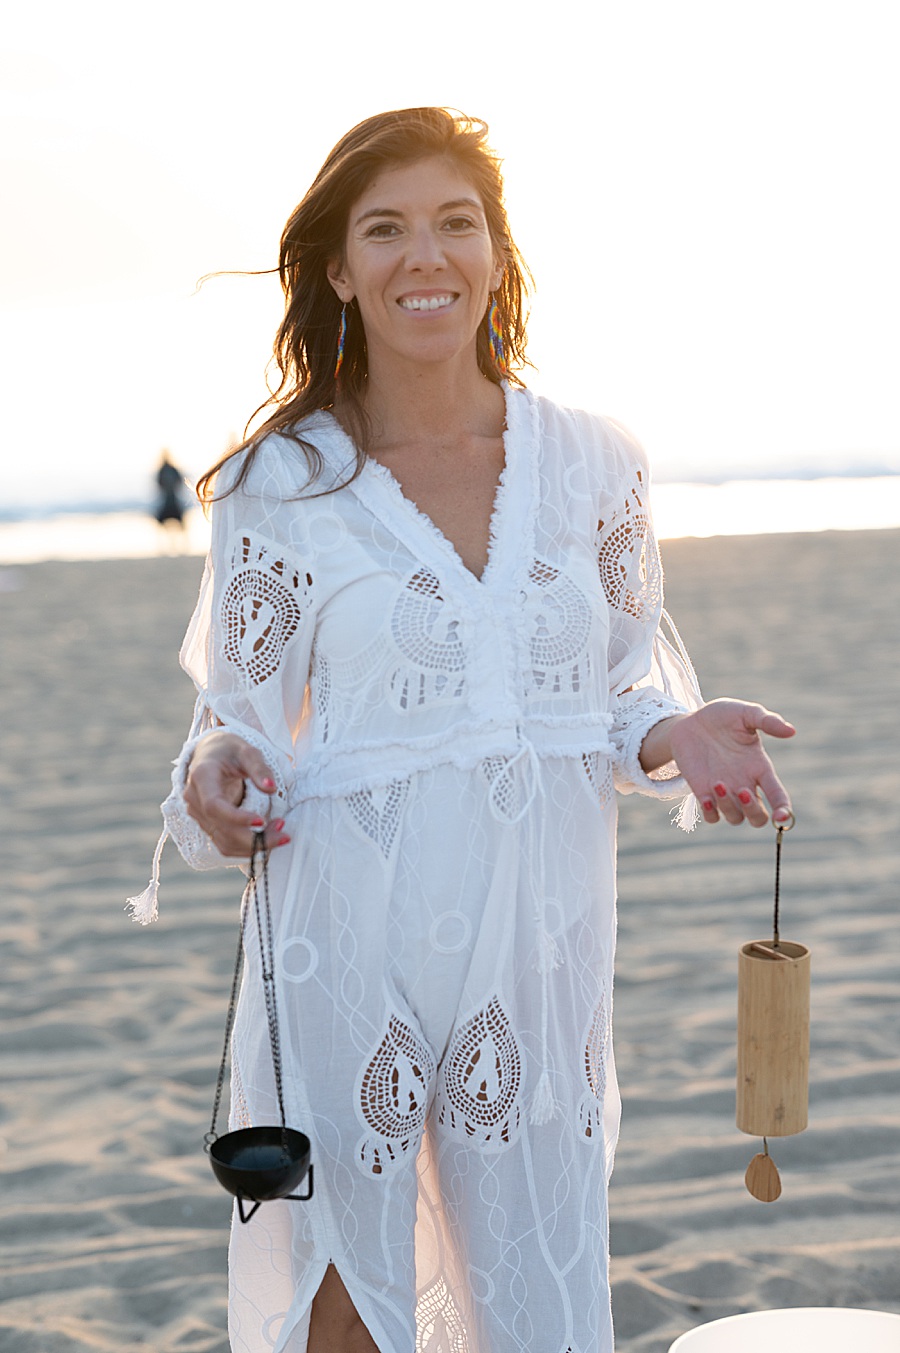
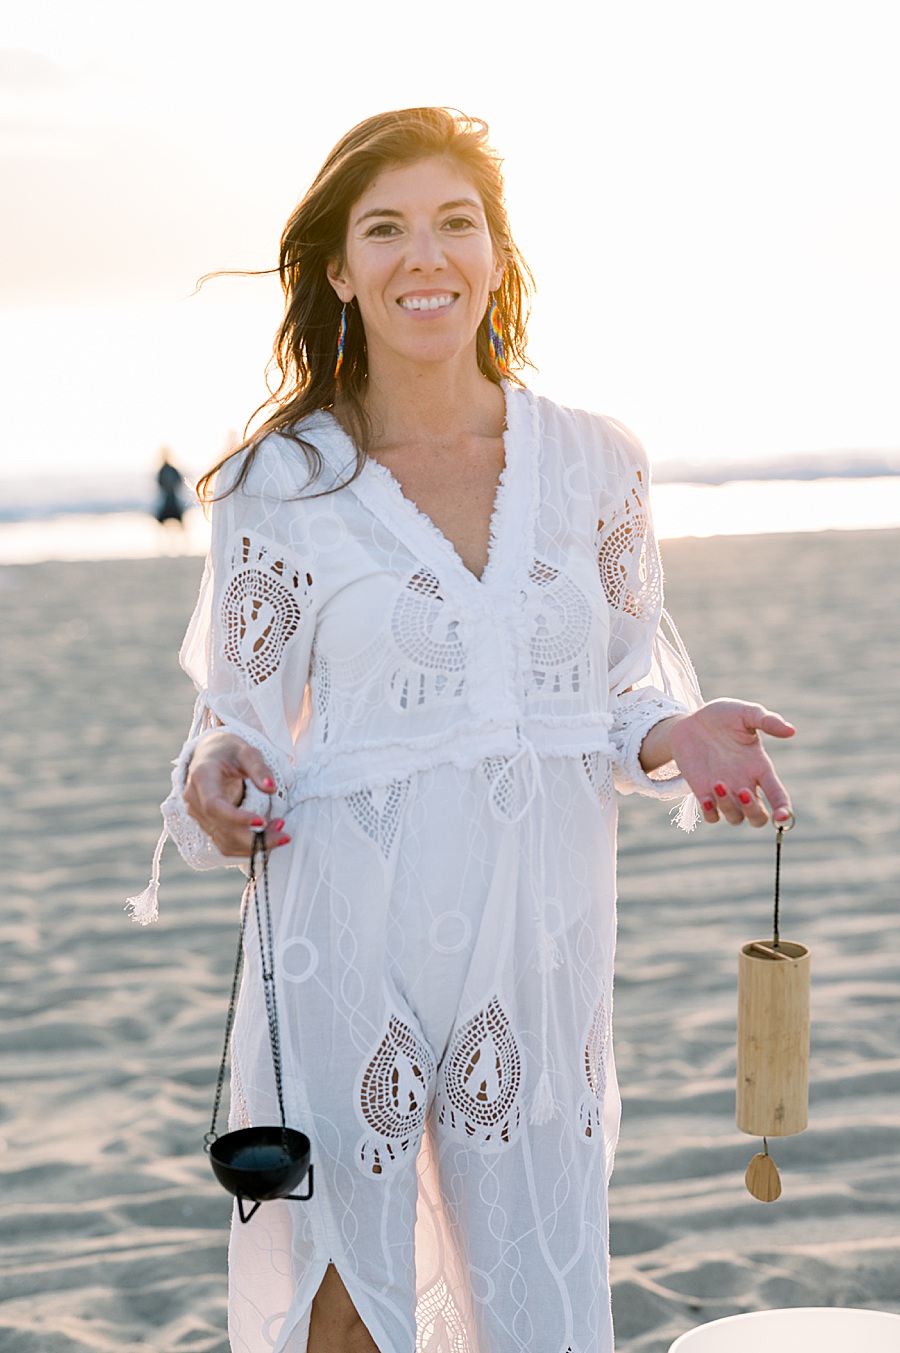
Sunkissed
Gives a warm glow and is best used for shots against the sun or images taken during sunset.


-
Sale!
ISS Mobile Presets
$11.00 Add to cart -
Sale!
ISS Desktop & Mobile Presets
$33.00 Add to cart

“One of the biggest struggles I had editing my photos was finding presets that looked professional but also sprinkles of magic in them. I’ve purchased almost 20 presets from different sites and while some of them were amazing, they didn’t really fit my brand style. I highly recommend these presets, especially if you are already an Inspired Stock Member. There simply is not a better way to make your photos match the collections inside of Inspired Stock Shop! They are super easy to use in both Lightroom Desktop and mobile”.
NashFAQ’S
HOW DO I GET THE FREE LIGHTROOM MOBILE APP?
DO YOU HAVE A LINK TO THE UNZIP APP?
I’M ON A PC AND WHEN I UNZIP THE FOLDER, IT’S EMPTY
Your zipped file contains your presets. Unfortunately, PCs can sometimes have an issue reading large files like these. If you have trouble with your download or receive an error message, that means that the file did not download correctly. I would suggest using a download manager to minimize any problems. Generally, being able to pause/resume a download tends to help with large files.
IPHONE INSTRUCTIONS USING THE UNZIP APP
Make sure you have downloaded Google Chrome , the unzip app and the Lightroom mobile app . All are free from the app store.
1. Click your download link button in the email that was sent after your purchase to download your presets on your iPhone. *If you are not given the option to open the link in Chrome, you can copy and paste your download link directly to the Chrome app”.
Then Click “Download Now”.
2. At the bottom of your Chrome browser click “download”. It might take a few seconds to a few minutes to download depending on your internet speed.
3. Click “Open in” and scroll until you see the UnZip App. You might have to select “more” to find the UnZip app. Click “copy to unzip” or “open in UnZip”.
4. Then click on the orange download folder to unzip it. It will be the name of the presets you just purchased. It will unzip and change to a yellow folder. Click on the yellow Download folder (you’ll do this twice). Make sure you are selecting the MOBILE presets (.dng)
5. Then click on the (i) for the first preset.
6. Then click “Open in”…Scroll to the Lightroom Mobile App. Open in the Lightroom mobile app. It will give you the option to import the DNG file on the next Lightroom app launch. Select “Got it”. Now, click on the next (i) and repeat the process. Once you have shared all the DNG files to Lightroom, you can click on “Launch Lightroom Now” and all the DNG images will be there. If they are not there, try clicking on recently added or, if needed you can restart the Lightroom app.
7. To create the presets you will need to click on the first individual DNG image, then click the 3 dots in the upper right hand corner. NOTE: Once you have your preset group created you can add the rest of the presets to it by clicking the drop down menu and selecting it each time. Repeat this process for all of the presets.
Congratulations! You are ready to start editing!
ANDROID & GOOGLE PHONE INSTRUCTIONS
1. Download the “Files by Google” app, and the Adobe Lightroom Photo editor app to your phone. Then click the download button in the email you received from us after purchase.
2. Select to open with “my files”. In your notifications window, select your download once it has finished downloading. Select to extract or unzip the files.
3. Once the file is unzipped, click to open it. You will then see all the DNG files, which are your presets. Select all the DNG files, then click the three dots at the upper right corner, or the share button if you have that option (share button might have this symbol next to it < ). Select add to Lightroom.
4. The DNG files should now all be in “All photos” in your Lightroom mobile app. Select one of the DNG files, then make sure you are in the “Edit” module in the top left corner of the screen.
5. Click the 3 dots in the upper right hand corner. Click on Create Preset. Name your preset (use the name on the photo). Under Preset Group click on User Presets. Then, click on Create New Preset Group.
6. Name it (ex: ISS Presets), then click the check mark in the upper right hand corner to save the preset. Make sure you do these steps for all the DNG files. You will need to create a preset from each DNG file.
7. Now let’s apply a preset! Select an image to edit. Scroll along the bottom of the app until you see “Presets”.
8. Look for your group (ex: ISS Presets) and Click on the preset name to apply it. Tap the check mark, then click the share button (looks like this <) in the upper right hand corner.
9. Save to Device – Highest Quality Available! Congratulations! The edited photo is now saved to your images and ready to post! You can edit as many photos as you like from here on out!
USING YOUR LAPTOP & AIRDROP
Using your desktop or laptop, open the zipped file folder from your download link. You will see several DNG files inside. DO NOT click on the DNG files to open them. They need to stay in the DNG format to work. Airdrop the DNG images that were in the zipped file folder to your mobile device. Once transferred they will appear in the camera roll of your mobile phone. They will look like blank squares.
Once you have transferred the DNG files to your phone (via AirDrop) you can add them to the Lightroom Mobile App by following the next steps:
1. Open the Lightroom mobile app.
2. Click the + plus sign in the bottom right-hand corner of your screen.
3. This will take you to your camera roll.
4. Click the 3 little dots in the upper right corner.
5. Choose “select”.
6. Now, tap on all of the DNG files.
7. Click add photos at the bottom of your screen.
**Please note** the DNG files may show up as blank images. Be on the lookout for those blank squares in your camera roll.
HOW TO INSTALL YOUR PRESET
1. Open the image preset you would like to install.
2. Make sure you are in the Edit module in the upper left hand corner.
3. Click the three white dots in the upper right-hand corner and select create preset.
4. From here, name the preset and create a preset group named “ex: ISS Presets”.
5. Repeat this process for all of the presets.
HOW TO USE A PRESET TO EDIT YOUR IMAGES
1. Open the image you would like to edit.
2. Select presets from the bottom toolbar.
3. Select the preset you would like to apply.
4. Click the check mark to apply it.
Please note: You will want to adjust the exposure and/or white balance after applying the preset in order to achieve your perfect edit.
HOW TO INSTALL DESKTOP PRESETS
USING LIGHTROOM CC
1. Save your presets folder labeled “ex: ISS Desktop Presets” on your desktop.
2. Open Lightroom CC.Click on the edit button on the right side of the page on the top of the menu. It will look like three horizontal lines with a circle on each line.
3. On the bottom, you’ll see the tab for Presets. Click that.
4. Once the preset tab is open, click on the three dots to the right of the words presets. Select “Import Presets”.
5. It will allow you to choose from the folders on your desktop. Select the entire Folder labeled “DESKTOP – ISS Preset Collection” and click on Import.
6. Your Presets will appear under the presets tab. If they are not there, restart Lightroom CC and they will show up.
LIGHTROOM CLASSIC WITH .XMP FILES
Make sure the folder containing your .xmp presets is saved in a location where you can easily find it. I suggest unzipping it and saving it on your Desktop.
You will want to copy this folder so that you can paste it into the settings folder later.
1. Open Lightroom Classic. In the upper left hand corner, click on Lightroom and then click on Preferences.
2. A new screen will pop up. Look for the Presets tab.
3. Click on the white box (towards the middle of the screen) titled Show Lightroom Develop Presets.
4. Locate the Settings folder and double click to open it. Paste the entire unzipped folder containing your .xmp files (the one you unzipped and copied earlier) into this folder.
5. That’s it! So easy and fun. If the presets do not show up automatically, go ahead and close Lightroom. Once you restart it, the presets will appear.